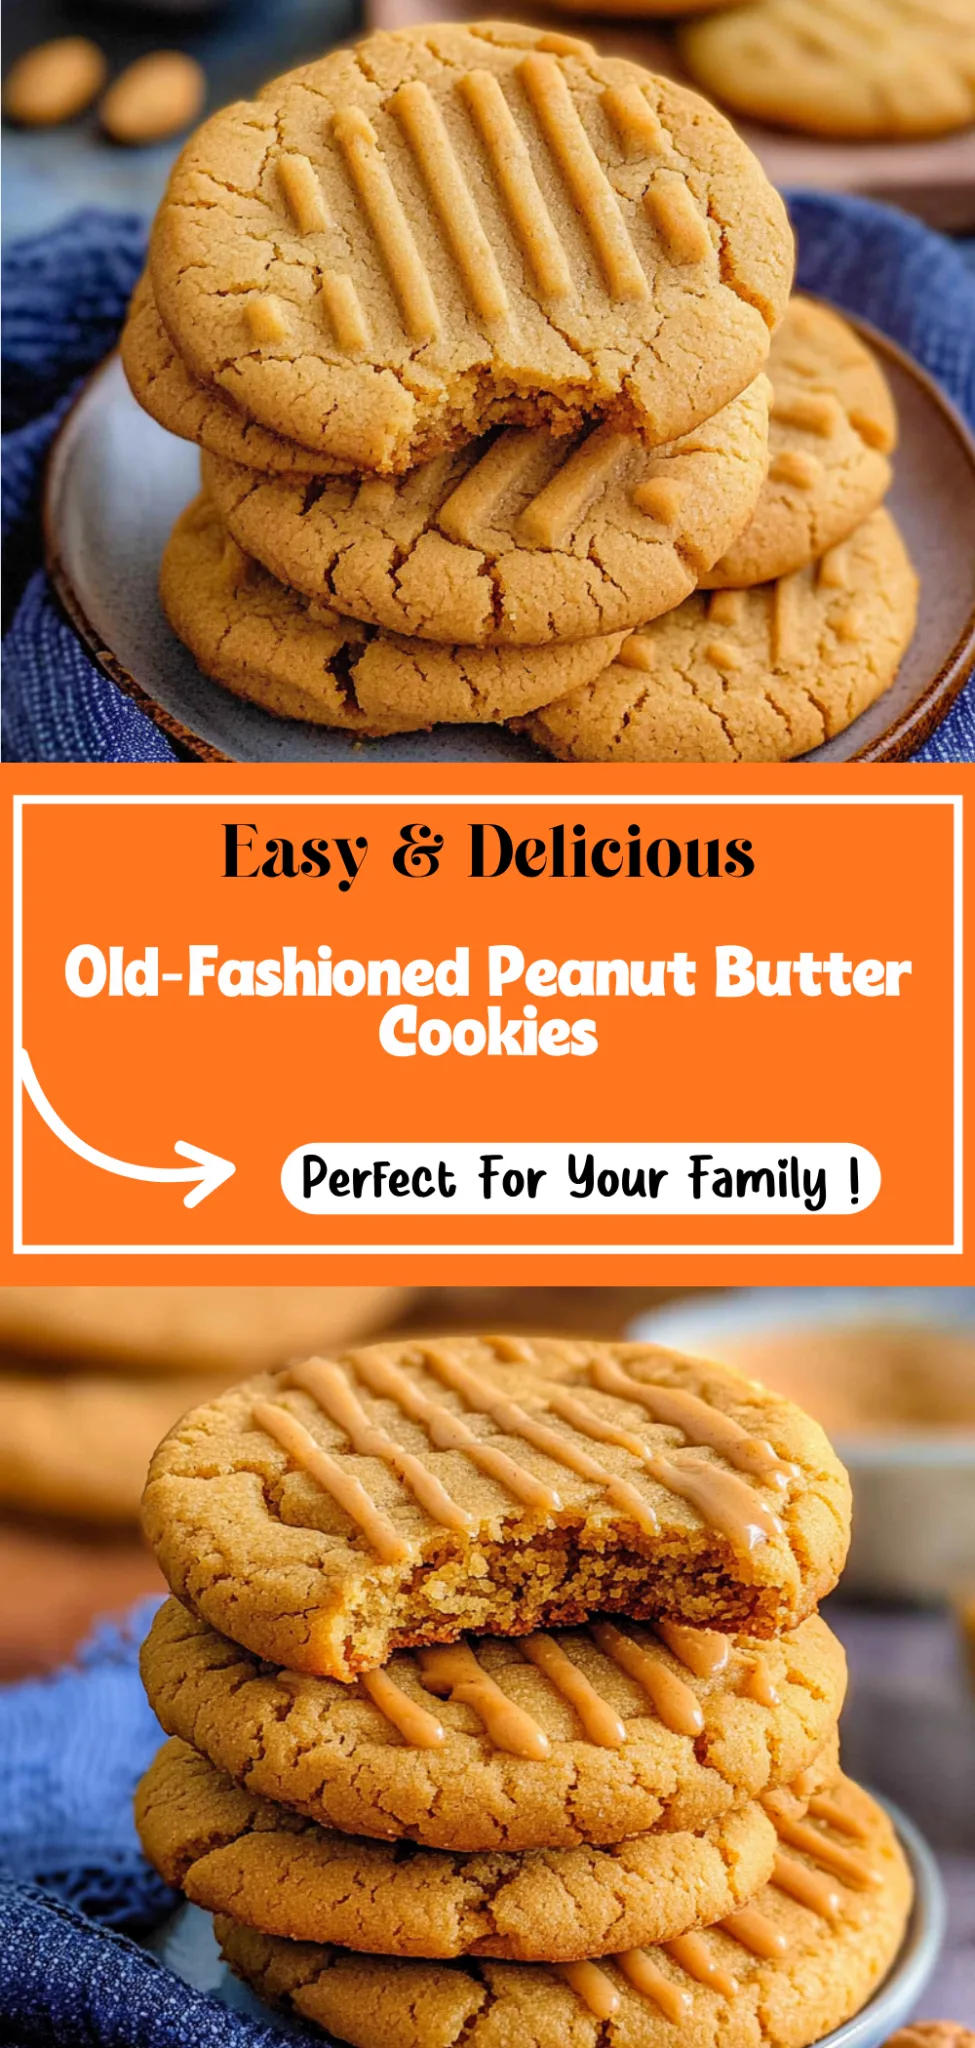
The moment you pull a tray of Old-Fashioned Peanut Butter Cookies from the oven, the air is filled with an irresistible aroma that dances between nutty and sweet, promising a delightful bite. With their golden edges and soft, chewy centers, these cookies invite you to indulge in a comforting treat that evokes warm memories of home and cherished gatherings.
What sets these cookies apart is their use of creamy peanut butter, which not only enriches the flavor but also ensures a satisfyingly rich texture that melts in your mouth. A sprinkle of sea salt enhances the sweetness, making each bite a harmonious balance of flavors. As you savor these timeless delights, you’ll find they are perfect for sharing with loved ones or simply enjoying during a quiet moment at home.
Why You’ll Love This Old-Fashioned Peanut Butter Cookies
These Old-Fashioned Peanut Butter Cookies are a delightful blend of soft, chewy textures that melt in your mouth while delivering an irresistible burst of rich peanut flavor. The combination of creamy or chunky peanut butter with the perfect balance of granulated and brown sugars creates a cookie that is not only sweet but also deeply satisfying with its slightly caramelized edges. With just the right pinch of salt to enhance the flavors and a hint of vanilla to round it out, each bite is a nostalgic journey that evokes memories of classic baking at home. The warm aroma wafting from your oven will surely have everyone gathering in the kitchen, making it impossible to resist enjoying these delightful cookies fresh out of the oven. So why wait? Grab your ingredients and whip up a batch tonight!
What Kind of Peanut Butter Should I Use?
For this Old-Fashioned Peanut Butter Cookies recipe, the best choice is creamy peanut butter. Creamy peanut butter provides a smooth texture that helps create soft and chewy cookies, allowing for even distribution of flavor without the added crunch of nuts. It also contributes to better moisture retention, resulting in a delightful melt-in-your-mouth experience. If you prefer a chunkier texture, feel free to substitute chunky peanut butter instead; just be aware that it may yield a slightly different consistency and chewy bite, which some might find appealing.
Ingredients for the Old-Fashioned Peanut Butter Cookies
Each ingredient in this dish plays an essential role in flavor and texture. Here’s what you’ll need:
2 cups all-purpose flour: Provides the structure for a perfectly chewy cookie.
1 teaspoon baking soda: Helps the cookies rise and achieve a light texture.
1 teaspoon salt: Enhances the sweetness and balances flavors.
1 cup peanut butter (creamy or chunky): Infuses rich peanut flavor and moisture.
1 cup granulated sugar: Adds sweetness and contributes to a crisp exterior.
1 cup brown sugar (packed): Brings depth of flavor and chewiness to the cookie.
1 teaspoon vanilla extract: Adds warmth and complexity to the overall taste.
1 large egg: Binds the ingredients together for a cohesive dough.
How To Make the Old-Fashioned Peanut Butter Cookies
Preheat the Oven
Begin by preheating your oven to 350°F (175°C). This temperature is ideal for baking cookies, ensuring they become soft and chewy while developing a lightly golden edge. Allowing the oven to fully preheat before you start baking is crucial for even cooking.
Combine Dry Ingredients
In a mixing bowl, whisk together 2 cups of all-purpose flour, 1 teaspoon of baking soda, and 1 teaspoon of salt. This step will help to evenly distribute the leavening agent and salt throughout the flour, which is essential for consistent texture and flavor in your cookies. Set this mixture aside as you prepare the wet ingredients.
Mix Wet Ingredients
In another large bowl, combine 1 cup of peanut butter (creamy or chunky), 1 cup of granulated sugar, 1 cup of packed brown sugar, and 1 teaspoon of vanilla extract. Beat these ingredients together until they are smooth and well-blended; this will create a rich base for your cookies. The mixture should be creamy and slightly glossy when you’re done.
Incorporate the Egg
Add 1 large egg to the peanut butter mixture and mix until fully incorporated. This will help bind all the ingredients together while contributing moisture to your cookies. You’ll know it’s ready when the mixture appears uniform without any visible streaks of egg.
Combine Wet and Dry Mixtures
Gradually add the dry ingredient mixture to the wet ingredients, mixing just until combined. Be careful not to overmix at this stage; you want to achieve a thick dough that holds together but still has some texture. If there are a few small lumps from the flour, that’s perfectly fine!
Scoop Cookie Dough
Using a tablespoon, scoop out balls of dough and place them onto a baking sheet lined with parchment paper, spacing them about 2 inches apart. This spacing allows room for spreading as they bake. Aim for uniform-sized balls so that they cook evenly — you should have around 15 balls ready on your sheet.
Flatten with Fork
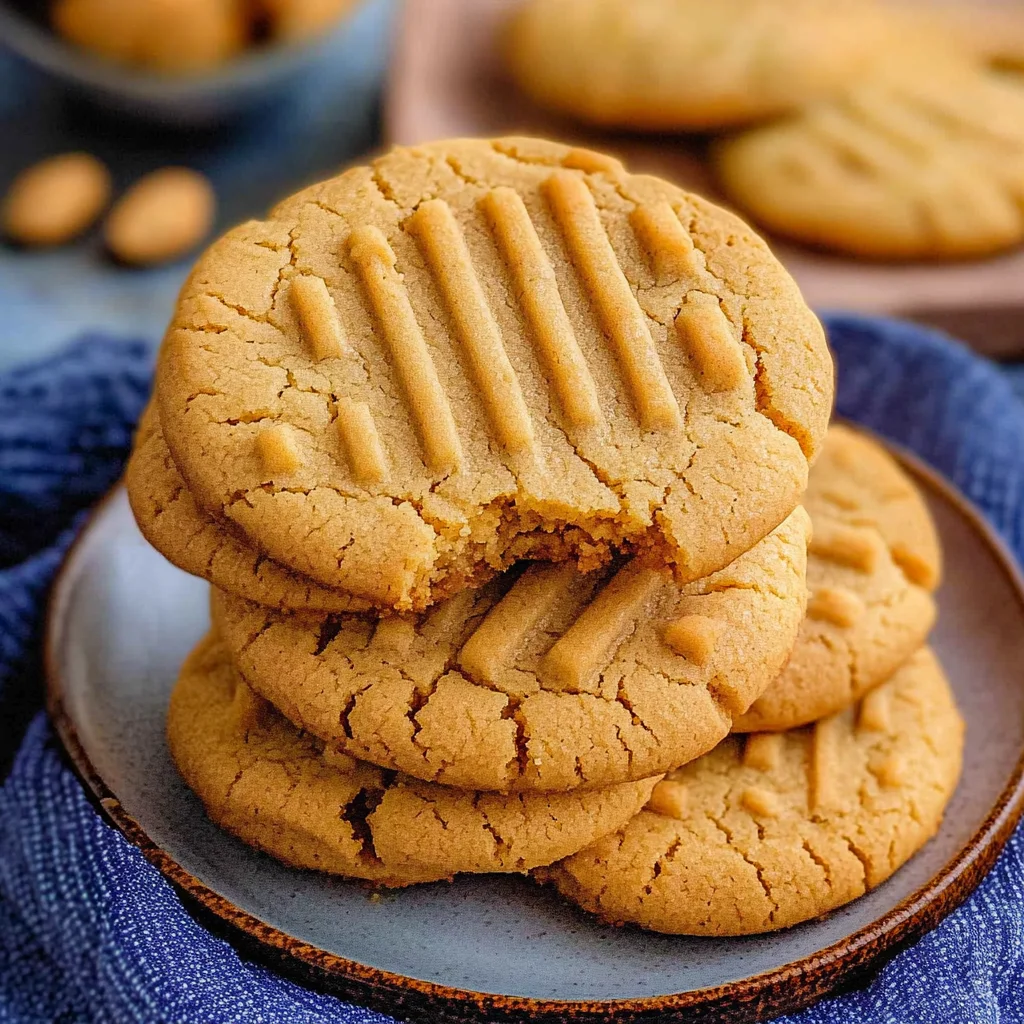
Take a fork and gently flatten each ball of dough, creating a crisscross pattern on top. Not only does this look inviting, but it also helps ensure even baking throughout each cookie. The dough should retain its shape but be slightly flattened with visible fork marks.
Bake Until Golden
Place the baking sheet in your preheated oven and bake for 8-10 minutes. Keep an eye on them; they’re done when the edges turn lightly golden while the centers remain soft. Overbaking may lead to crunchy cookies instead of chewy ones, so trust your eyes!
Cool on Wire Rack
Once baked, remove the cookies from the oven and allow them to cool on the baking sheet for a few minutes before transferring them to a wire rack. This initial cooling helps them set up properly without falling apart while you move them. After a few minutes on the sheet, let them cool completely on the rack for optimal texture.
How to Serve and Store Old-Fashioned Peanut Butter Cookies
These Old-Fashioned Peanut Butter Cookies yield 24 delightful servings that are perfect for sharing. For an inviting presentation, stack them neatly on a vintage plate and serve alongside a tall glass of cold milk or a warm cup of coffee. You can also sprinkle a few chocolate chips or crushed nuts on top for an extra touch of flavor and texture that will leave everyone craving more.
To store any leftovers, keep the cookies in an airtight container at room temperature for up to one week. If you want to enjoy them later, they freeze well for up to three months; just be aware that thawing may slightly alter their texture. When you’re ready to reheat, pop them in the microwave for about 10-15 seconds on low power—this will keep them soft and chewy without drying them out.
Creamy Mashed Potatoes
The rich and buttery texture of creamy mashed potatoes perfectly contrasts the chewy softness of peanut butter cookies, creating a delightful mouthfeel.
Roasted Broccoli
The slight bitterness and crispiness of roasted broccoli provide a refreshing balance to the sweet, nutty flavors of the cookies.
Honey Wheat Bread
This subtly sweet and hearty bread complements the rich peanut butter taste while adding a delightful chewiness to your dessert experience.
Classic Coleslaw
The crunchy freshness of classic coleslaw offers a zesty contrast that beautifully offsets the dense sweetness of the peanut butter cookies.
Garlic Herb Rice
Fragrant garlic herb rice adds an aromatic layer that enhances the nutty flavor profile, making each bite of cookie even more indulgent.
Sweet Potato Fries
The natural sweetness and crispy texture of sweet potato fries make for an unexpectedly delicious pairing alongside the soft, gooey cookies.
Frequently Asked Questions
Can I use natural peanut butter instead of regular peanut butter? Natural peanut butter can be used, but it may result in a slightly different texture. Since natural peanut butter tends to be runnier, you might want to adjust the flour slightly to achieve the right dough consistency.
Are these peanut butter cookies gluten-free? Unfortunately, this recipe is not gluten-free as it contains all-purpose flour. However, you can substitute the all-purpose flour with a gluten-free flour blend designed for baking to make them gluten-free.
Can I make the dough ahead of time and freeze it? Yes, you can freeze the cookie dough! Simply scoop the dough into balls and place them on a baking sheet. Once they are frozen solid, transfer them to an airtight container or freezer bag for up to 3 months. Bake from frozen, adding an extra minute or two to the baking time.
How do I know when the cookies are done baking? The cookies are done when the edges are lightly golden and the centers look set but still soft. They will continue to firm up as they cool on the baking sheet, so don’t overbake them!
What can I add to enhance the flavor of these cookies? You can add chocolate chips, chopped nuts, or even a sprinkle of sea salt on top before baking for extra flavor. These additions can complement the rich peanut butter taste beautifully!
Conclusion
Old-Fashioned Peanut Butter Cookies are not just a treat; they’re a nostalgic journey back to simpler times, bringing joy with every soft and chewy bite filled with rich peanut flavor. If you loved these cookies, why not explore other delightful options like [Peanut Butter Chocolate Chip Bars] or [Classic Oatmeal Raisin Cookies] to keep the flavor party going? We’d love for you to save this recipe on Pinterest and share your baking adventures with us in the comments!
Old-Fashioned Peanut Butter Cookies
Ingredients
Method
- Preheat the oven to 350°F (175°C).
- In a mixing bowl, combine flour, baking soda, and salt. Set aside.
- In another bowl, beat together peanut butter, granulated sugar, brown sugar, and vanilla extract until smooth.
- Add the egg and mix until well combined.
- Gradually add the dry ingredients to the wet mixture, mixing until just combined.
- Scoop tablespoon-sized balls of dough onto a baking sheet, spacing them about 2 inches apart.
- Flatten each ball with a fork, creating a crisscross pattern.
- Bake in the preheated oven for 8-10 minutes, or until the edges are lightly golden.
- Remove from the oven and let cool on the baking sheet for a few minutes before transferring to a wire rack.

Leave a Comment